How to Build a Campfire
Building a campfire is a staple activity in outdoor adventures, offering warmth, light, and an opportunity for cooking.

When camping, a well-constructed fire pit can enhance your experience, providing a central gathering spot to share stories and enjoy the night sky.
It's important to follow certain steps to ensure your campfire is both safe and successful.
There are clear guidelines and techniques to effectively construct a fire pit that will reduce the risk of wildfires and ensure a minimal environmental impact.
Before you strike a match, the groundwork for a good campfire begins with selecting an appropriate location.
It's imperative to find a spot that's protected from wind and at a safe distance from tents, trees, and other flammable objects.
Clearing the area of any debris that could spread the flames is also crucial.
Once a safe spot is identified, preparing your fire pit by creating a containment ring and assembling the fire structure properly will set the foundation for a robust campfire.
This involves gathering the right kind of fuel, such as tinder, kindling, and larger firewood, and then arranging them in a structure that will allow the fire to breathe and grow.
 FlikTeoh
Lighting the campfire requires attention and care to ignite the tinder and gradually build the fire by adding more fuel while maintaining control.
Monitoring your fire and keeping it at a manageable size ensures you can enjoy it without worry.
As the night winds down, knowing how to extinguish your campfire safely is essential to prevent any embers from reigniting. This means thoroughly dousing it with water, stirring the ashes, and checking for any remaining heat.
Key Takeaways
- Safe campfire practices start with choosing a non-hazardous location and preparing a proper fire pit.
- Build a sturdy fire structure with suitable materials for a controlled and lasting campfire.
- Light the fire carefully, maintain it responsibly, and extinguish it completely to ensure safety.
Choosing the Right Location
When building a campfire pit, the safety of your surroundings and adherence to regulations are paramount. It's also essential to be mindful of the environmental impact of your campfire.
Assessing Terrain and Safety
Your first priority is to ensure that the campfire pit is situated on a flat and level surface to prevent the fire from spreading unevenly or escaping.
You should clear the area of any flammable material such as dry leaves, sticks, and twigs.
As a general rule, maintain a safety radius of 10 to 15 feet clear of tents, trees, and other potentially flammable objects.
Understanding and Following Regulations
Always check for local regulations regarding campfires at your chosen location.
Many campgrounds provide designated fire pits for use, which you should use instead of creating a new one.
If you're at a site without a designated fire pit, but campfires are allowed, using an existing fire ring minimizes environmental impact and is often recommended under Leave No Trace principles.
Environmental Considerations
When selecting a location for your campfire pit, strive to minimize your environmental footprint.
Leave No Trace principles are guidelines that encourage outdoor ethics such as respecting wildlife and minimizing the effects of your presence.
Choosing a spot that will not damage the local flora and fauna is essential, and always ensure that the fire is completely extinguished before you leave to prevent wildfires.
Preparing Your Fire Pit
To ensure a safe and enjoyable campfire experience, attention to detail in the preparation of your fire pit is crucial. Proper clearance, a secure lining, and a sturdy fire ring are key to a responsible and sustainable fire.
Clearing the Area
First, identify a flat surface and clear a 10-foot radius around the fire pit site.
Remove all flammable materials such as leaves, sticks, and overhanging branches. This serves to prevent the accidental spread of fire.
Digging and Lining the Pit
In the cleared space, dig a pit about 1 foot deep.
The pit should be lined with mineral soil, which is less likely to contain combustible organic matter.
For added safety and to help contain the coals, mix in sand or fine gravel at the bottom of the pit.
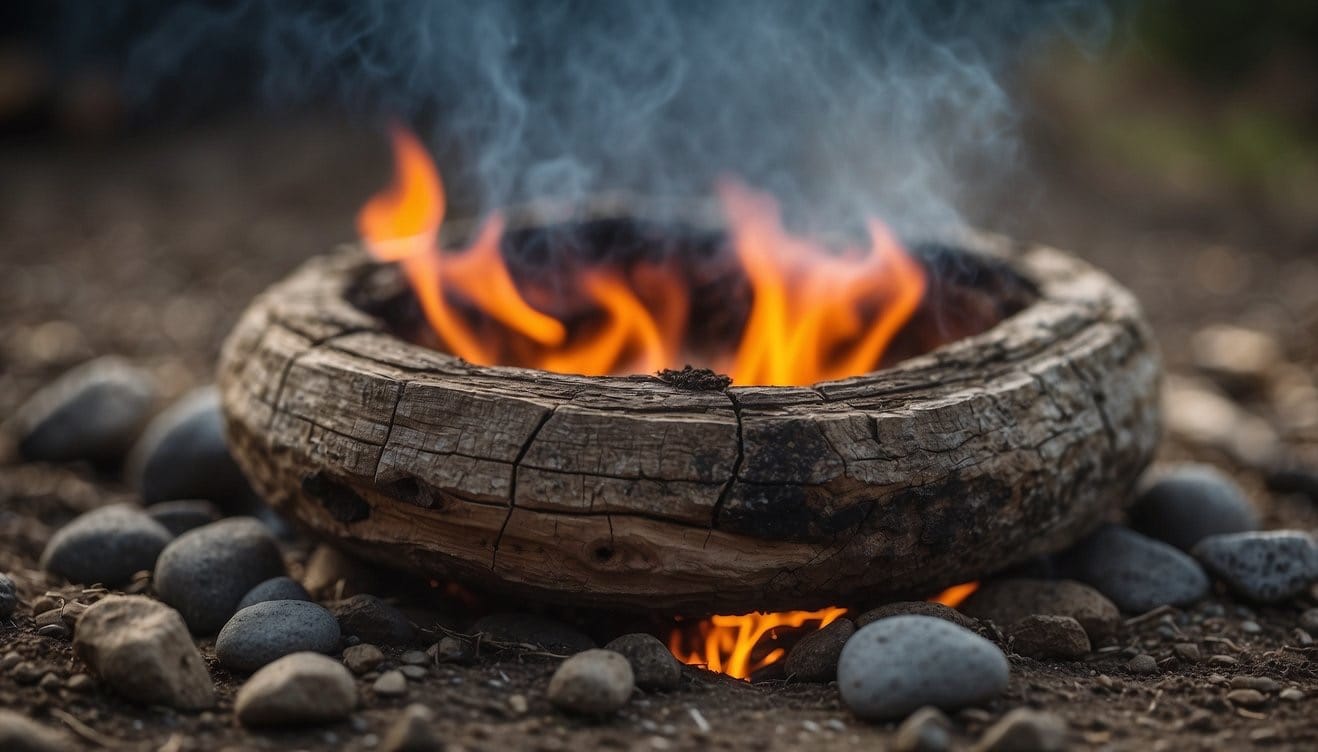
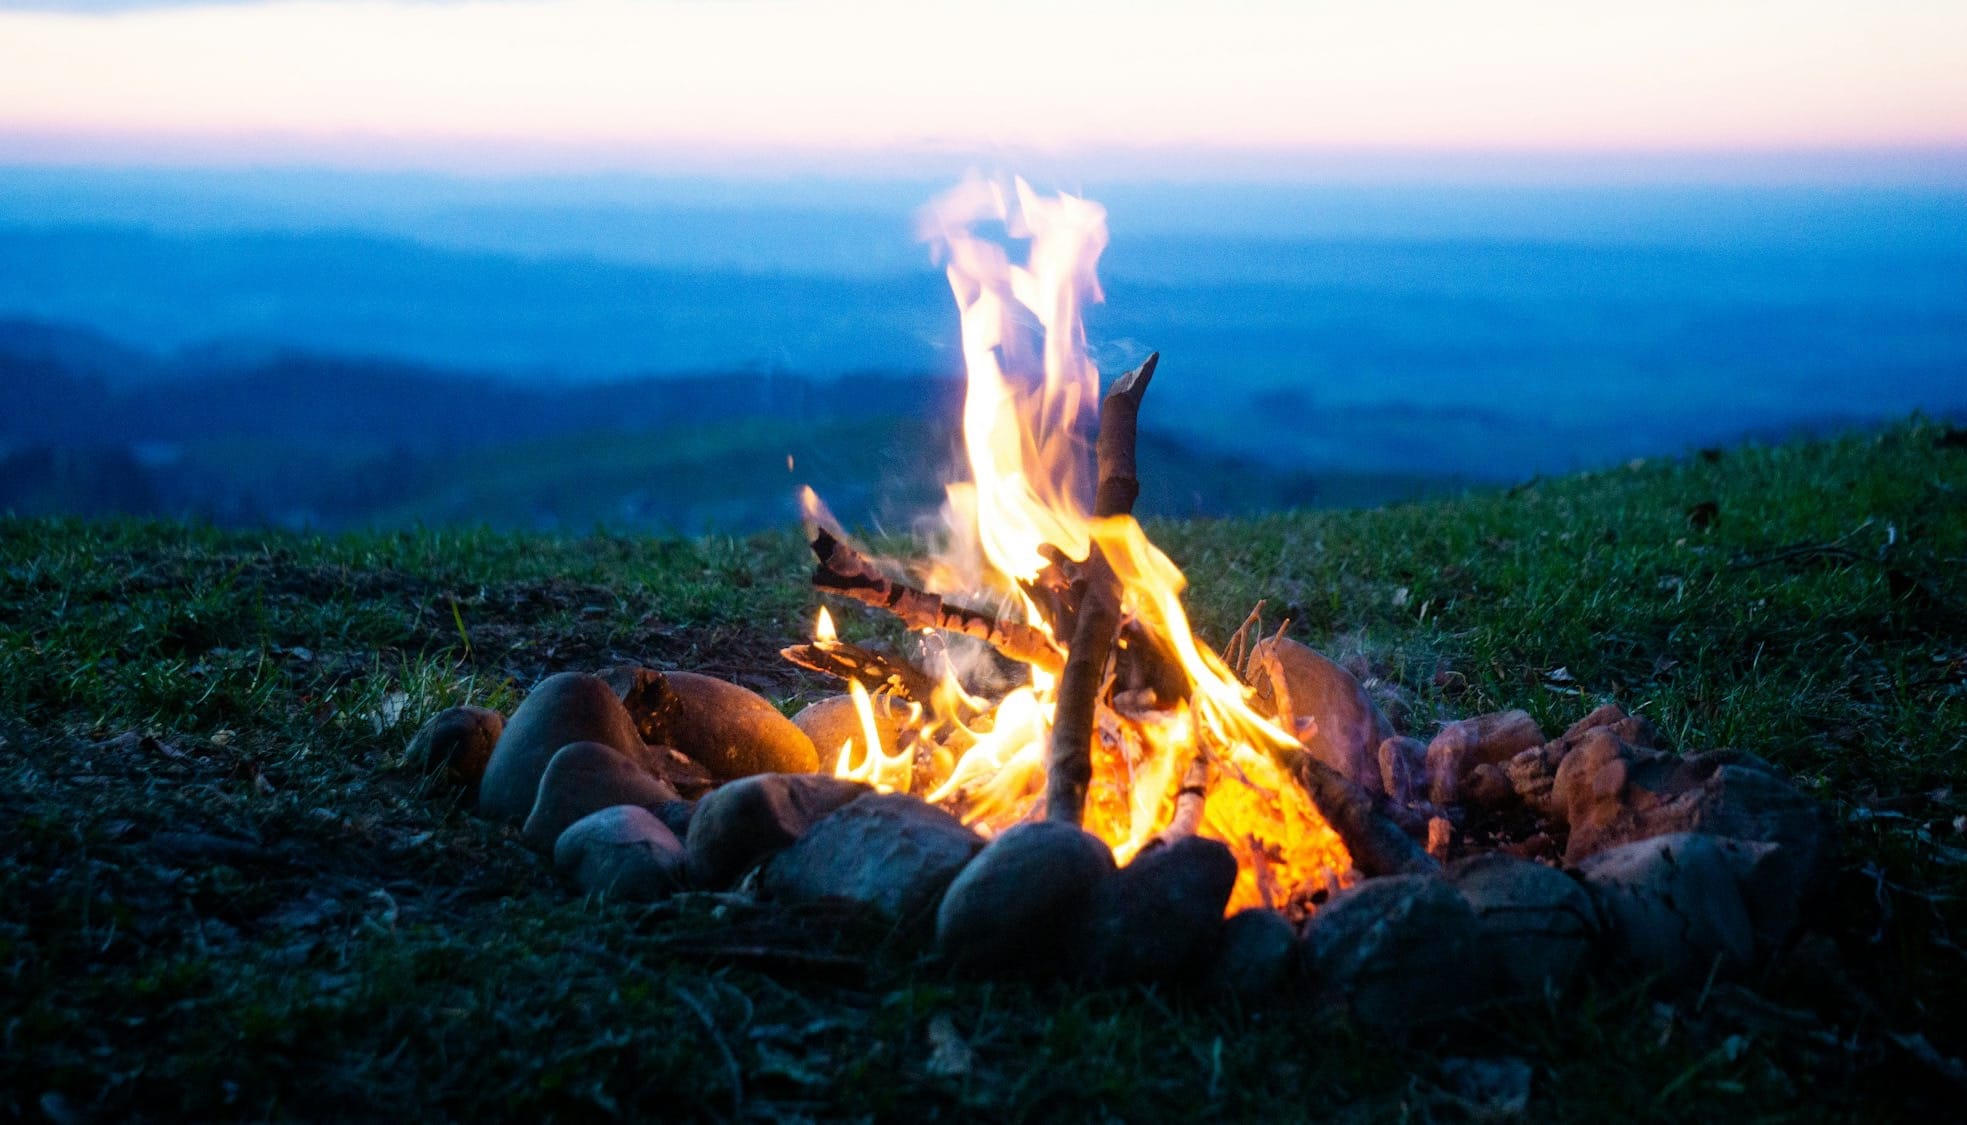
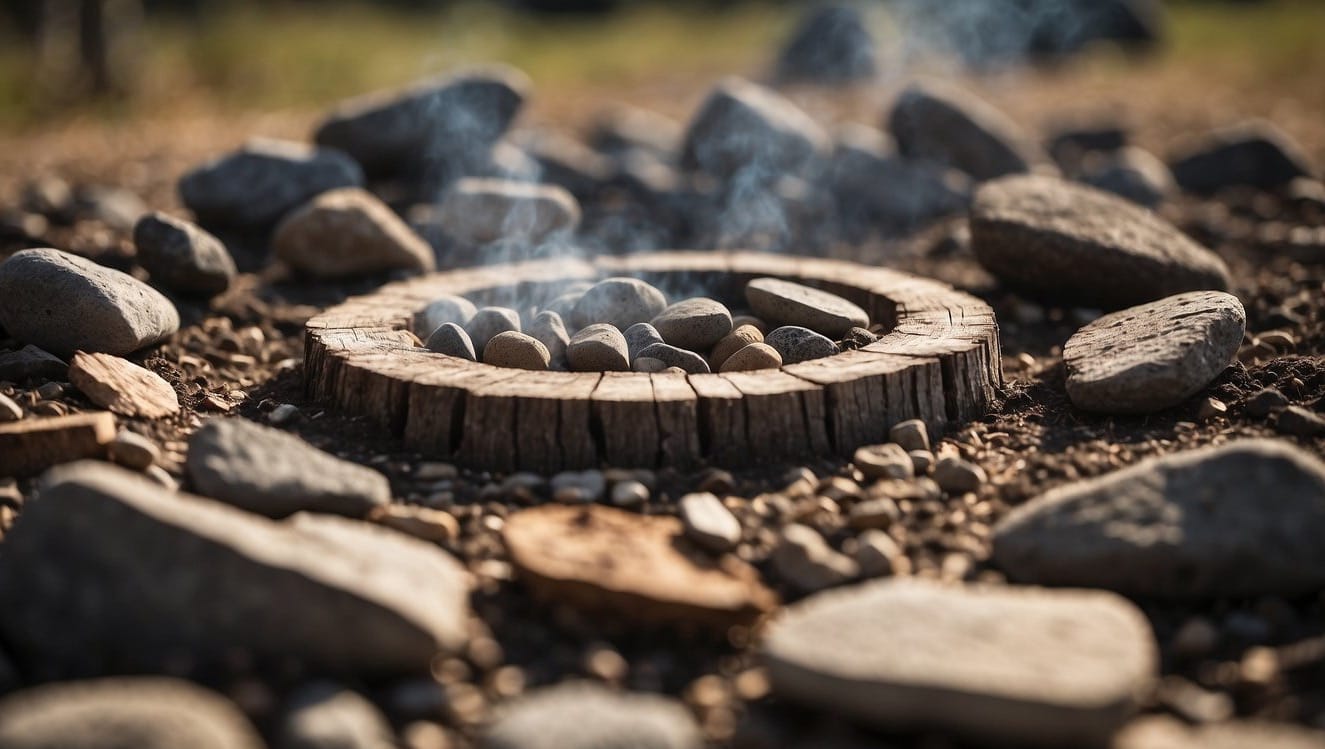
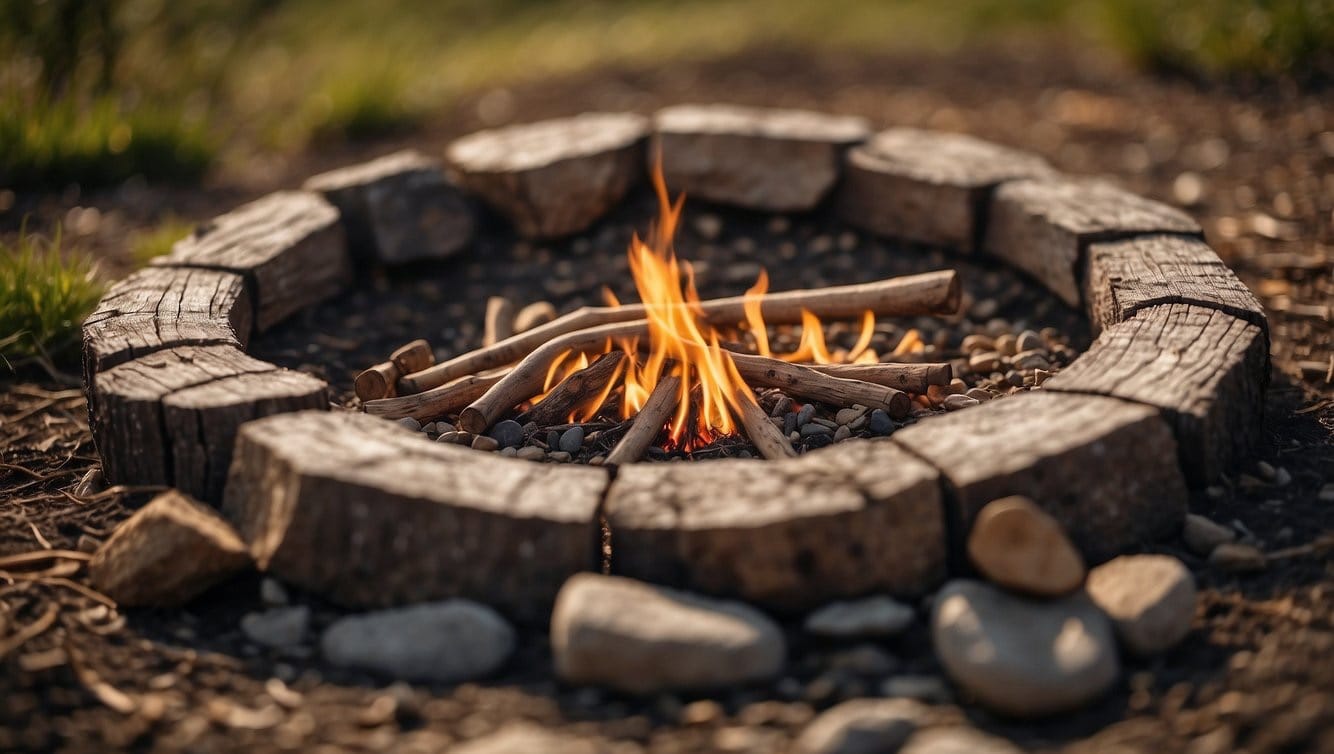
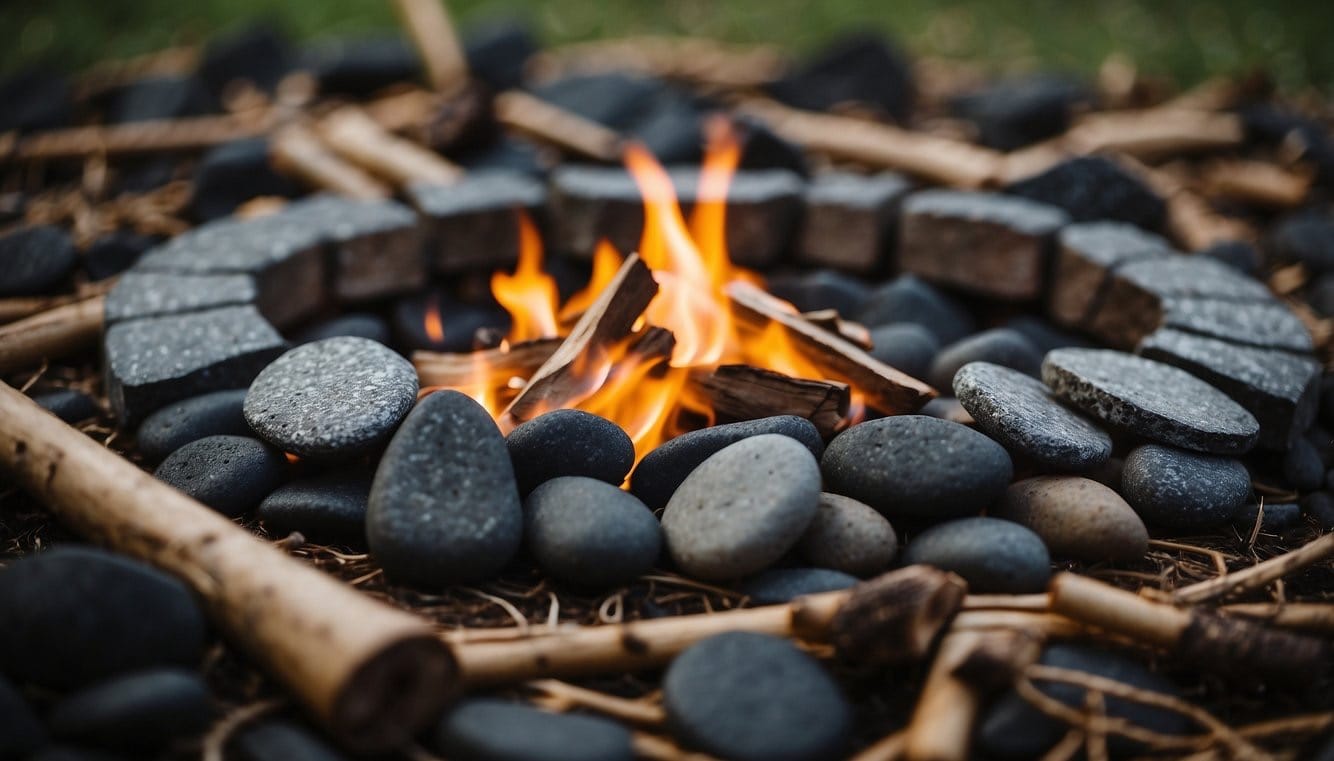
Setting Up a Protective Fire Ring
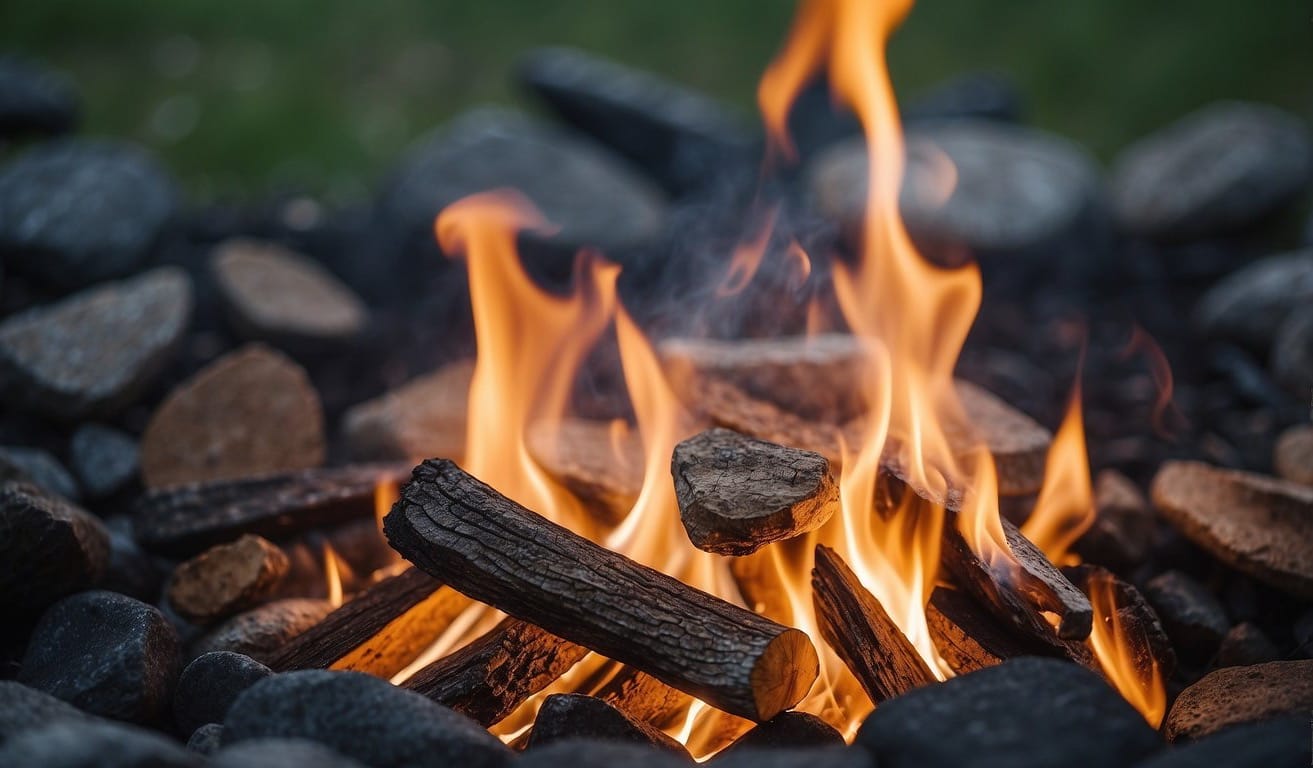
Enclose the pit with a ring of rocks, which acts as a barrier between the fire and the environment.
Choose non-porous rocks to reduce the risk of them cracking when heated.
The fire ring should be high enough to contain embers but not so tall as to prevent adequate ventilation.
Gathering and Preparing the Right Materials
Building a successful campfire starts with gathering the correct materials that are not only effective but also environmentally conscientious. This includes selecting the appropriate wood and fuel, sourcing natural fire starters, and understanding safety precautions.
Types of Wood and Fuel
Softwoods like pine or cedar are great for starting your fire as they catch light easily.
Hardwoods such as oak or hickory, are denser and ideal for a longer-burning fire.
Use three sizes of wood:
- Tinder: Small twigs and dry leaves, crucial for initial flames.
- Kindling: Sticks smaller than 1 inch in diameter to build the fire once it’s started.
- Fuel: Larger pieces of firewood that will sustain your fire.
Remember to use only dry wood to prevent excessive smoke and ensure a cleaner burn.
Natural Fire Starters
To ignite your fire naturally, gather:
- Dry leaves
- Dry grass
- Small branches
These materials must be totally dry to be effective.
For a more responsible approach, avoid using living plants or green wood as these are poor fire starters and can damage the environment.
Precautions with Fuel and Environment
Be mindful of your surroundings by clearing flammable material such as dry leaves and branches for at least a 10-foot radius around your pit.
When collecting wood, make sure it's from fallen trees or designated firewood areas to protect the ecosystem. Never cut live trees.
Always keep the Leave No Trace principles in mind, which means using materials that will minimize impact and avoid leaving behind any waste or damage.
Assembling the Fire Structure

Creating a solid fire structure is crucial for a sustainable burn. The method you choose should be based on conditions such as wind and the purpose of your fire, whether it's for warmth or cooking.
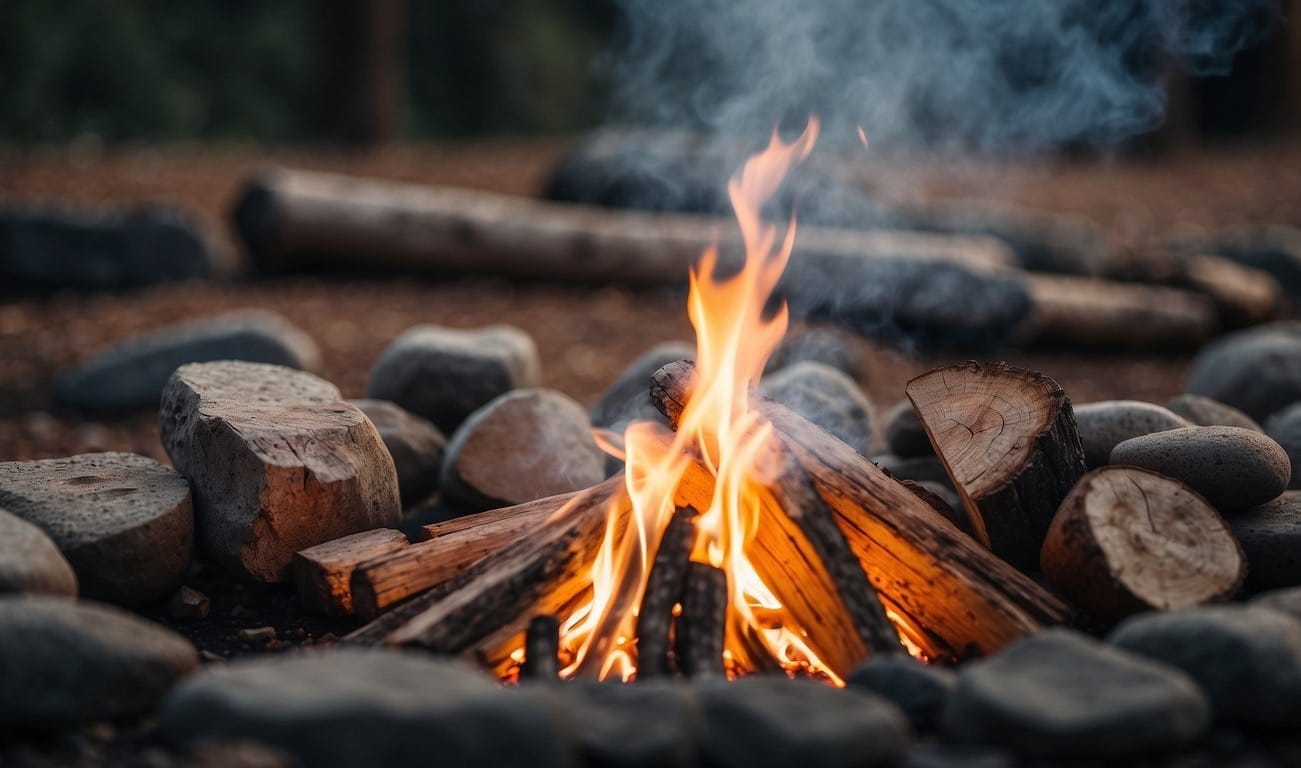
Traditional Teepee Method
The teepee structure is your go-to for a quick and concentrated fire.
Begin by placing your kindling in a small mound, to which you will add tinder.
Around this, stand larger sticks and logs in a cone shape, leaning them inward around the kindling like the poles of a traditional teepee.
This structure allows air to flow upward, fostering a strong flame at the center.
- Steps:
- Mound small kindling in the center.
- Surround with tinder.
- Arrange larger sticks and logs in a cone shape.
Log Cabin Technique
If you're aiming for a durable and long-lasting fire, the log cabin fire layout is your best choice.
Start with two larger logs, parallel to each other.
Build by adding successively smaller logs, laying them across each other at the ends. The square shape resembles a log cabin.
The interior space of this pyramid serves as the perfect pocket for kindling and tinder.
- Construction:
- Base: Two larger logs parallel to each other.
- Structure: Successive layers of smaller logs at right angles.
Lean-To for Windy Conditions
The lean-to fire is effective in windy conditions, providing a barrier for your flames.
First, find a long, sturdy piece of wood and stick one end into the ground at an angle. This is your 'windward' side—place it toward the wind.
Lean kindling against the length of this wood, creating a sheltered area where you can position your tinder.
Add larger logs on the leeward side to protect the flames and encourage growth.
- Arrangement:
- Windward Side: Long, sturdy wood placed at an angle into the ground.
- Kindling: Leaned against the 'roof' log to protect tinder from wind.
Lighting the Fire
Successfully lighting a campfire requires careful attention to the ignition process and understanding the role of air and heat in producing stable flames. Here's what you need to ensure a good start.
Using Matches and Lighters
To light your campfire with matches or lighters, follow these steps:
- Prepare your kindling and tinder before you attempt to ignite the fire.
- Shield your match or lighter from the wind as you bring it close to the tinder.
- Ignite the tinder, starting at the bottom where the air is most abundant, and allow the flame to rise naturally.
- Gently blow near the base to supply additional oxygen, thereby strengthening the flames.
- Once the tinder has a solid burn, the fire should steadily catch onto the kindling.
Alternative Ignition Methods
In addition to matches and lighters, other ignition methods can be equally effective:
- Fire starter: A compact and reliable option that often requires just a single spark.
- Magnifying glass: Using the sun’s heat, angle it to focus a beam onto your tinder until it begins to smolder.
- Sparks from a flint and steel: Strike them together near your tinder, aiming the sparks at the most combustible material.
Apply the same principles as with matches or lighters, particularly ensuring the fire has plenty of air and that you’re adding heat consistently until you have stable flames.
Maintaining and Controlling the Fire
Once you've ignited your campfire, maintaining and controlling it is crucial for both safety and functionality.
Properly managing the fire ensures a steady burn and minimizes risks.
Adding Fuel and Oxygen
- Larger Logs: Gradually add larger logs to your fire once the kindling has created a stable burn to maintain a consistent heat output. Ensure these logs are dry to prevent excessive smoke.
- Airflow: Regularly adjust the positioning of the wood to allow oxygen to circulate, keeping your fire alive.
- Both the log cabin and teepee structures facilitate airflow.
- Embers: Monitor the embers; they are the key to a long-lasting fire. If they start to wane, you may need to gently blow on them or redistribute them to reinvigorate the fire.
Keeping the Fire Contained
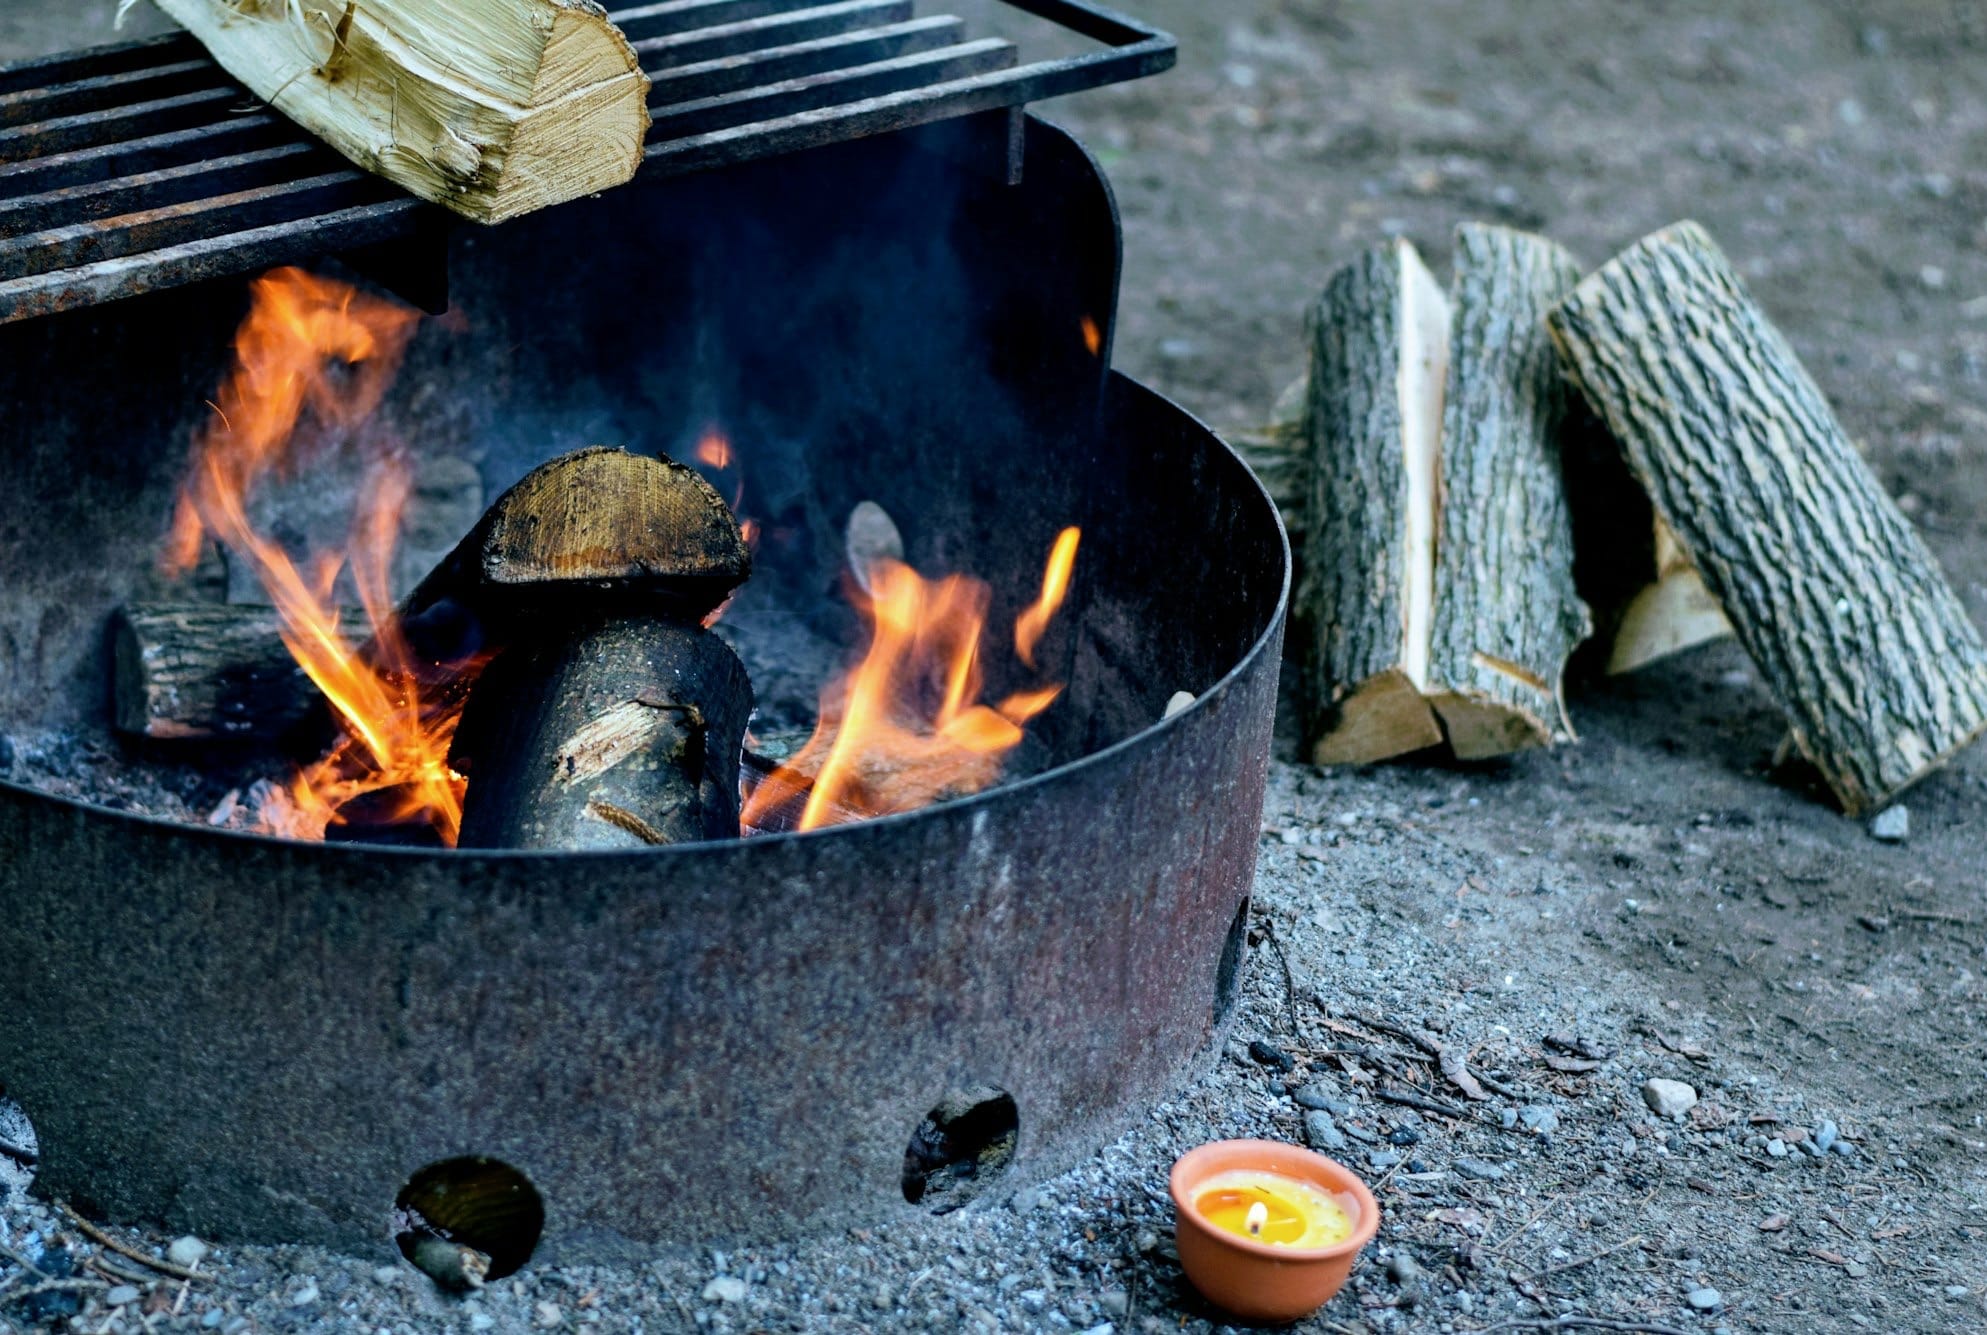
- Fire Ring: Always keep your fire within a designated fire pit or ring to prevent the fire from spreading.
- Wind: Be mindful of the wind direction. Set up a barrier or choose a spot shielded from the wind to avoid scattering embers.
- Unattended Fires: Never leave your fire unattended. A sudden gust of wind or shift in materials could quickly lead to an uncontrolled situation.
- Extinguish Properly: When it’s time to extinguish the fire, drown all embers with water, not just the red ones. Stir the remnants to ensure the fire is completely out.
Extinguishing the Fire Safely
When it comes to campfires, safety is paramount, particularly in the extinguishing process. It is essential to ensure the fire is completely out and the area is safe before leaving the site.
Properly Dousing with Water
To extinguish your campfire, always have a bucket of water nearby for thorough dousing.
Pour water evenly over the ashes until the hissing sound stops, indicating that the embers are soaked and cool to the touch.
Stir the ashes with a shovel to expose any remaining hot spots and apply more water if necessary.
The goal is to see no steam and feel no heat emanating from the ashes.
Checking for Remaining Embers
Embers can remain hot for a considerable time and rekindle if not addressed.
After dousing with water, inspect the fire pit carefully with the back of your hand at a safe distance to sense any residual heat.
If heat is detected, it's vital to apply more water and use your shovel to stir and flip the ashes to ensure every ember is extinguished.
Leaving the Site as Found
Once the fire is out, clean up any remaining debris around the fire pit. This practice maintains the natural area and reduces the likelihood of future fires accidentally starting.
Restore the site to its natural state by scattering cooled ashes if allowed and double-check that the spot shows no signs of lingering heat or fire.
If you've used rocks or bricks to encircle your fire, return them where you found them, provided they are cool and safe to handle.
Always pack out any trash and leave the site as undisturbed as possible.
Frequently Asked Questions
When building a fire pit, knowing the right techniques and methods is crucial for safety and efficiency. The following frequently asked questions cover essential aspects of constructing and utilizing a fire pit in the woods.
What steps are necessary to build a fire pit in the woods?
First, select a clear area away from trees or flammable materials and then remove all debris within a 10-foot radius.
Build a ring of stones, if available, to contain the fire. This ring serves as the containment for your campfire.
What is the most cost-effective method for constructing a fire pit?
The most cost-effective method is to use natural materials around you, such as rocks or sand, for the containment ring. Avoid purchasing elaborate fire pit structures for temporary camping use.
What are the essential techniques for starting a campfire with wood?
Gather various sizes of dry wood, starting with tinder, then kindling, and finally larger logs.
Use the teepee or lean-to structure for arranging the wood, which aids in airflow and makes it easier to light.
Can you simply dig a hole to create a functional fire pit, and if so, how?
Yes, you can dig a hole to serve as a fire pit.
Ensure the hole is shallow and wide, allowing for adequate oxygen flow while reducing the fire's wind exposure. Circle the hole with stones to mark it and contain embers.
What are the best practices for building a fire pit in the wilderness?
Choose a spot over non-flammable surfaces like sand or gravel, and clear a wide area to prevent any unintended spread of the fire.
Always ensure that the fire is fully extinguished before leaving the site.
Is it better to construct a portable fire pit for camping, and how can it be done?
A portable fire pit can be advantageous for Leave No Trace camping.
You can use a metal fire pit ring or a foldable fire pit. These can be set up quickly and will contain the fire safely without impacting the natural environment.