How to Pitch a Tent
Pitching a tent is a fundamental skill for any camper or outdoor enthusiast. It can turn the great outdoors into a comfortable home away from home for the duration of your trip.

Whether you are camping for the first time or looking to refine your technique, understanding how to properly set up your shelter is crucial.
It ensures not just comfort but safety as well.
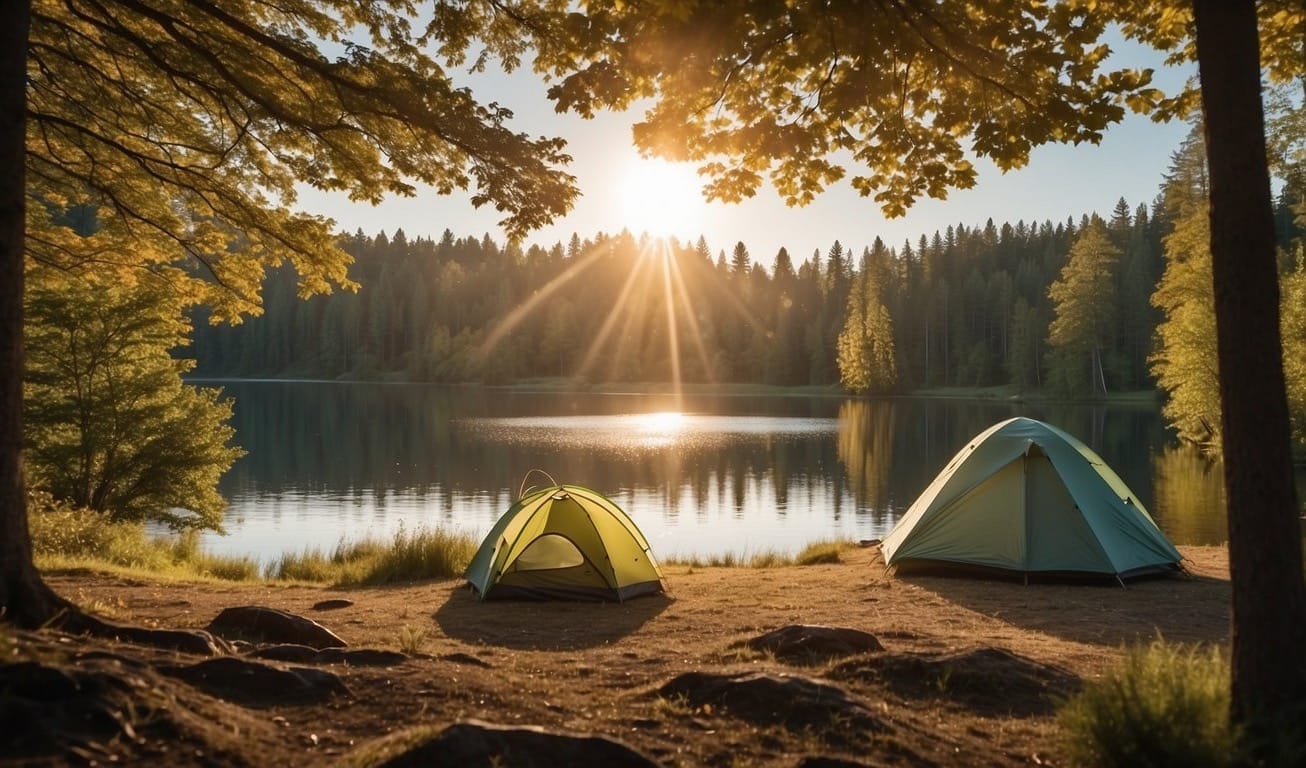
Before even beginning to set up your tent, choosing the right campsite is the first step to ensuring a successful camping experience.
Terrain, shelter from the elements, and the condition of the ground are all factors that need to be considered.
Once a site is chosen, it is important to prepare for tent setup.
This includes familiarizing yourself with the tent components, such as poles, stakes, and the rainfly, and knowing the process of how your specific tent model assembles.
Key Takeaways
- Proper tent pitching increases comfort and safety during camping.
- The right campsite choice is integral to a successful tent setup.
- Familiarity with tent components and setup procedures ensures efficiency.
Choosing the Right Campsite

When you're selecting a campsite, your comfort, safety, and the impact on the environment are paramount.
Start by looking for level ground, as a flat site is crucial for a good night's sleep and to keep your tent's structure intact.
It’s just as important to consider the potential hazards in the area.
Be mindful of the wildlife and maintain a respectable distance to preserve their habitat and your safety.
Sun and Shade:
Consider the path of the sun throughout the day. A spot that offers morning sunshine can be pleasant, but having shade in the afternoon can keep your tent cool.
Windbreak:
Look for natural windbreaks to protect your tent from strong gusts. However, avoid camping directly under or near dead trees or unstable branches.
Safety Concerns:
- Avoid Hazards: Stay clear of areas prone to flooding, like valleys and riverbeds.
- Proximity to Water: Camp at least 200 feet away from lakes and streams to protect water sources and adhere to Leave No Trace principles.
Respect for Nature:
Stay on marked campsites where possible to minimize your impact on the surroundings.
- Distancing:
Keep a good distance from other campers to provide privacy and reduce noise pollution.
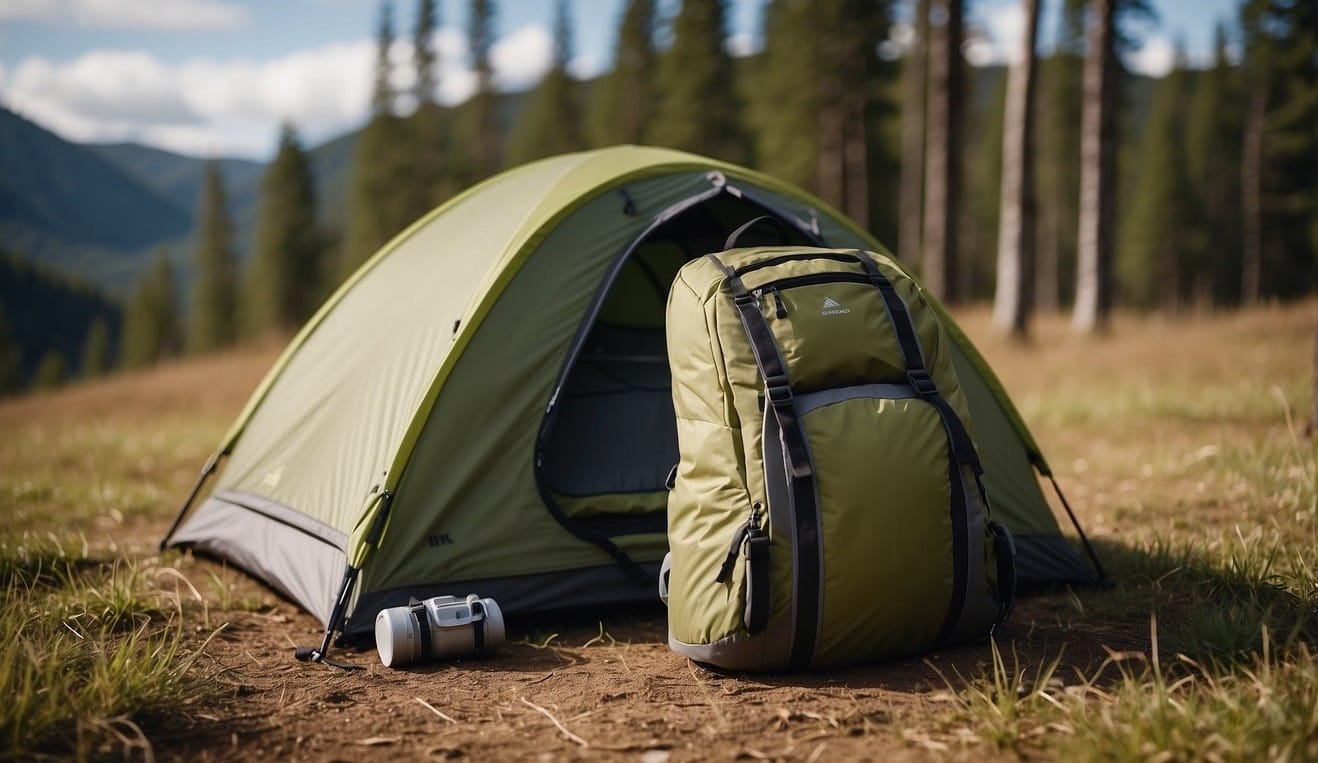
Preparing for Tent Setup
Before embarking on your camping trip, it's crucial to prepare for tent setup to ensure a smooth and hassle-free experience. Here's how you can gear up for pitching your tent, step by step:
Pre-Trip Preparation:
- Familiarize yourself with your tent by practicing a practice pitch at home. This helps to identify any missing parts or damages, ensuring you know how to set it up efficiently when outdoors.
- Inspect all tent components and pack a repair kit with essential items like patches, adhesive, and spare parts, suitable for your tent model.
- Make sure to include all tent components: poles, stakes, fly, and footprint.
- Bring along necessary tools for tent setup, which might include a mallet for driving stakes into hard ground.
Choosing a Campsite:
- When backpacking, select a campsite that offers natural shelter from wind and is not in a low-lying area where water may pool.
- Clear the designated tent area of debris and sharp objects to protect the tent's fabric.
Packing Your Backpack:
- Store the tent where it is easily accessible without unpacking your entire backpacking gear.
- Pack the components strategically to balance the weight in your backpack.
Remember to check weather conditions before your trip and adjust your prep accordingly.
With your tent and kit prepped and packed, you're set to enjoy your camping adventure with ease.
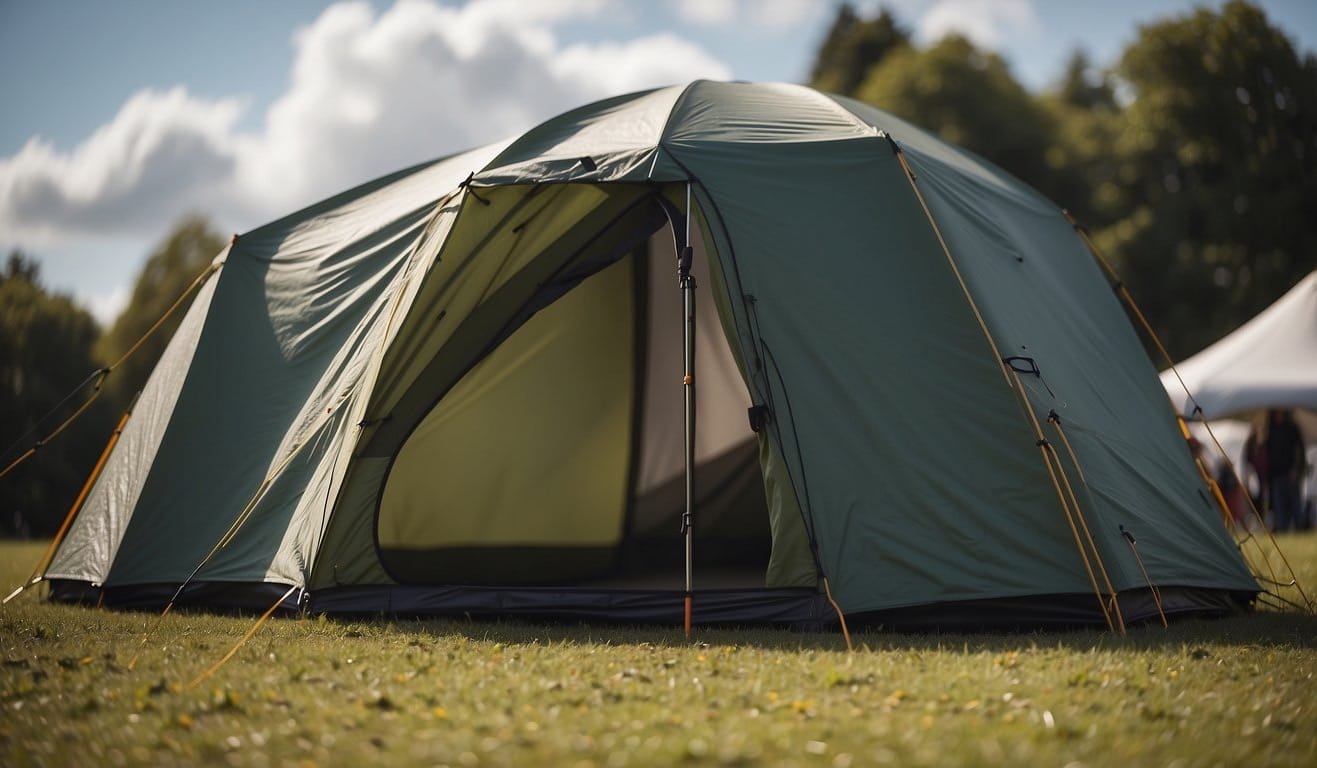
Understanding Your Tent
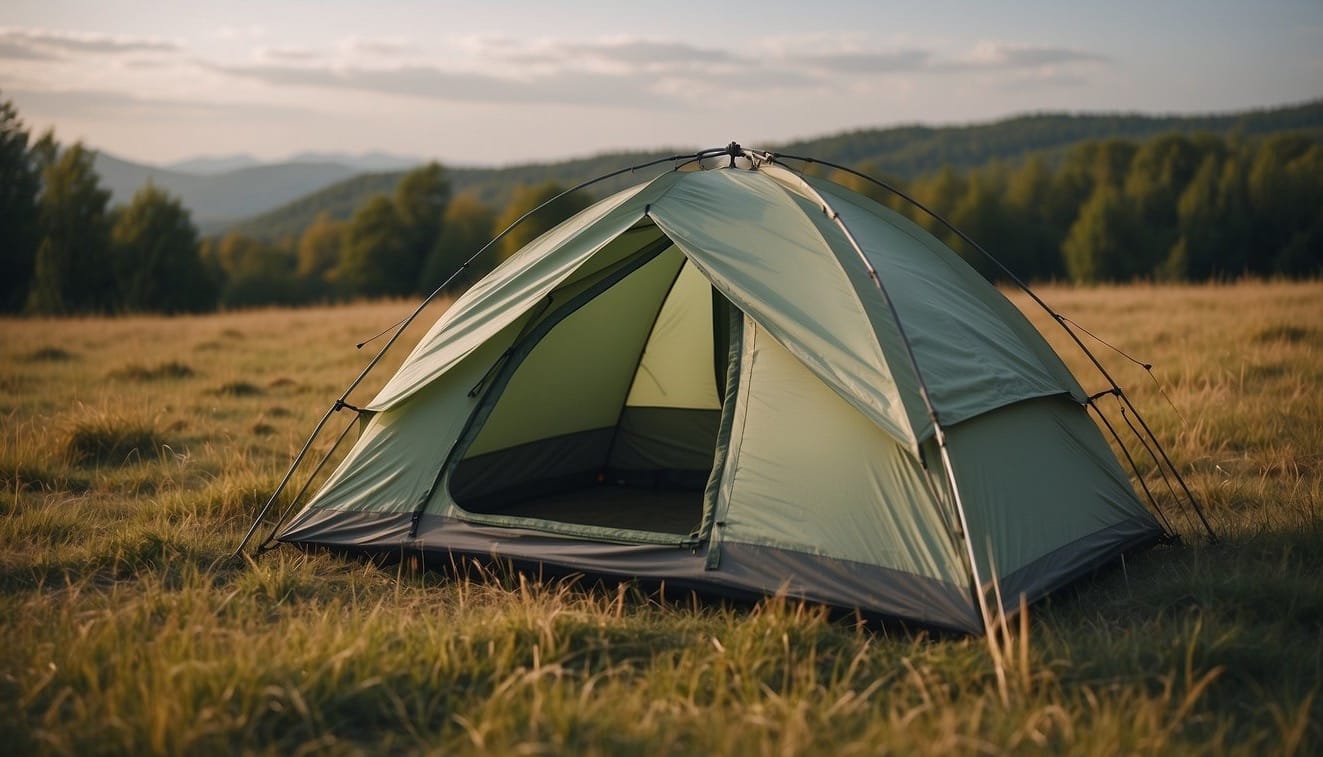
Before setting up your tent, it's crucial to understand its components and how they work together to provide you with shelter.
Types of Tents:
- Pop-up tents: These tents spring into shape without the need for assembly.
- Inflatable tents: Use air-filled beams instead of traditional poles and require a pump to erect.
- Tents with poles: These traditional tents rely on a framework of poles to maintain structure.
Tent Anatomy:
- Tent Poles: Rigid supports that create the tent's frame. They can be made from materials like fiberglass, aluminum, or carbon fiber.
- Tension: The act of stretching your tent fabric and securing it with pegs to create a stable structure.
- Rain Fly: This is an additional waterproof layer that fits over the inner tent to protect against rain and add insulation.
- Inner Tent: Usually made from a breathable fabric, this is your main living area.
- Tent Floor: A durable layer that separates you from the ground.
Setup Checklist:
- Identify front and back of inner tent.
- Lay out tent with tent floor facing down.
- Assemble and insert poles to provide tension to the structure.
- Stretch and secure rain fly correctly with door aligning to the tent's door.
Remember, the key to a well-pitched tent is ensuring everything is aligned, taut, and secure.
Take the time to familiarize yourself with these components before you head out, and you'll find setting up camp to be a smooth process.
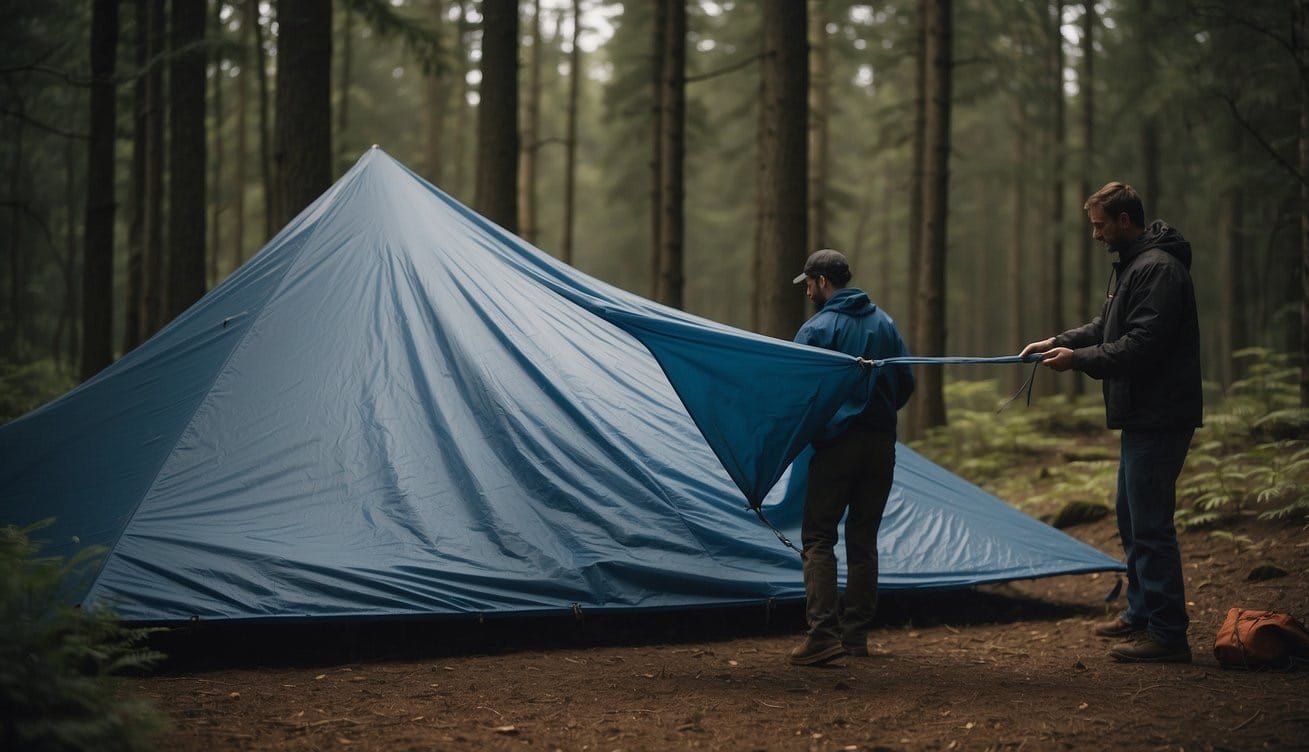
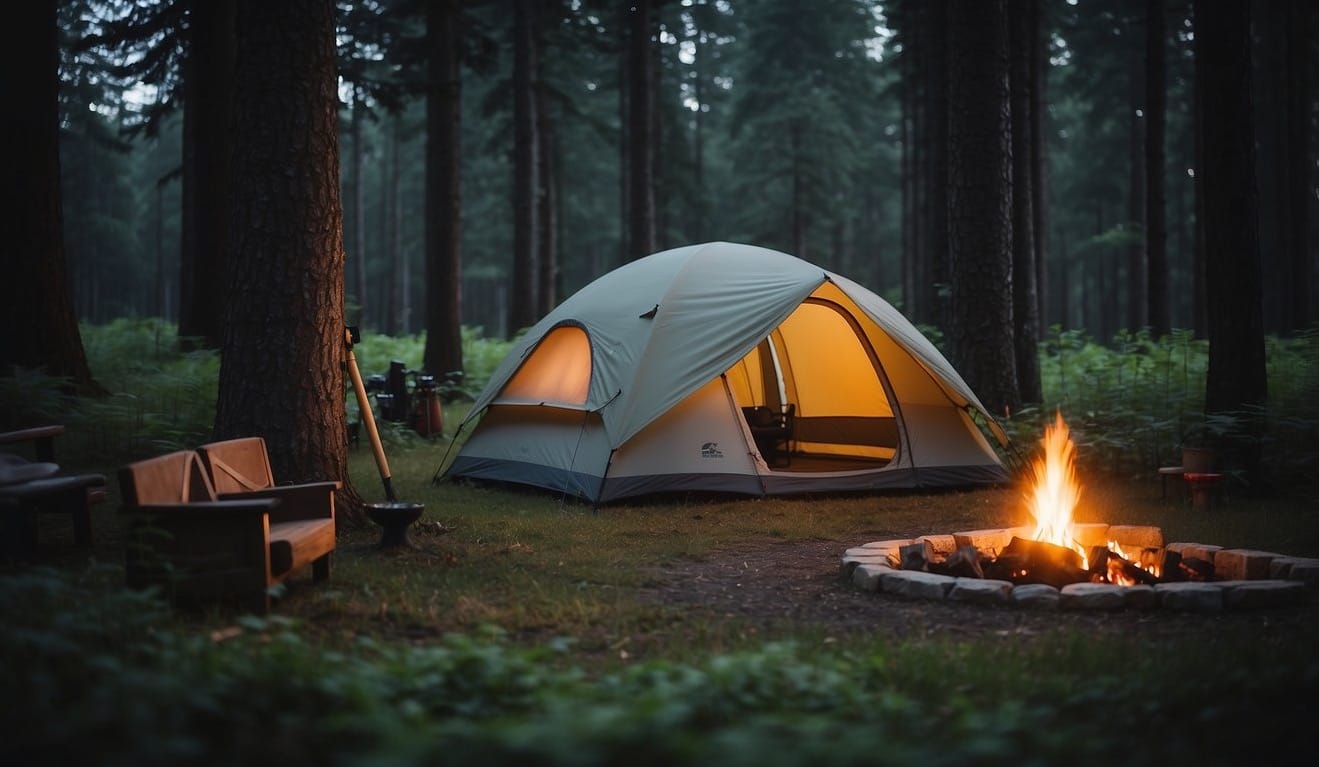
Setting Up the Tent
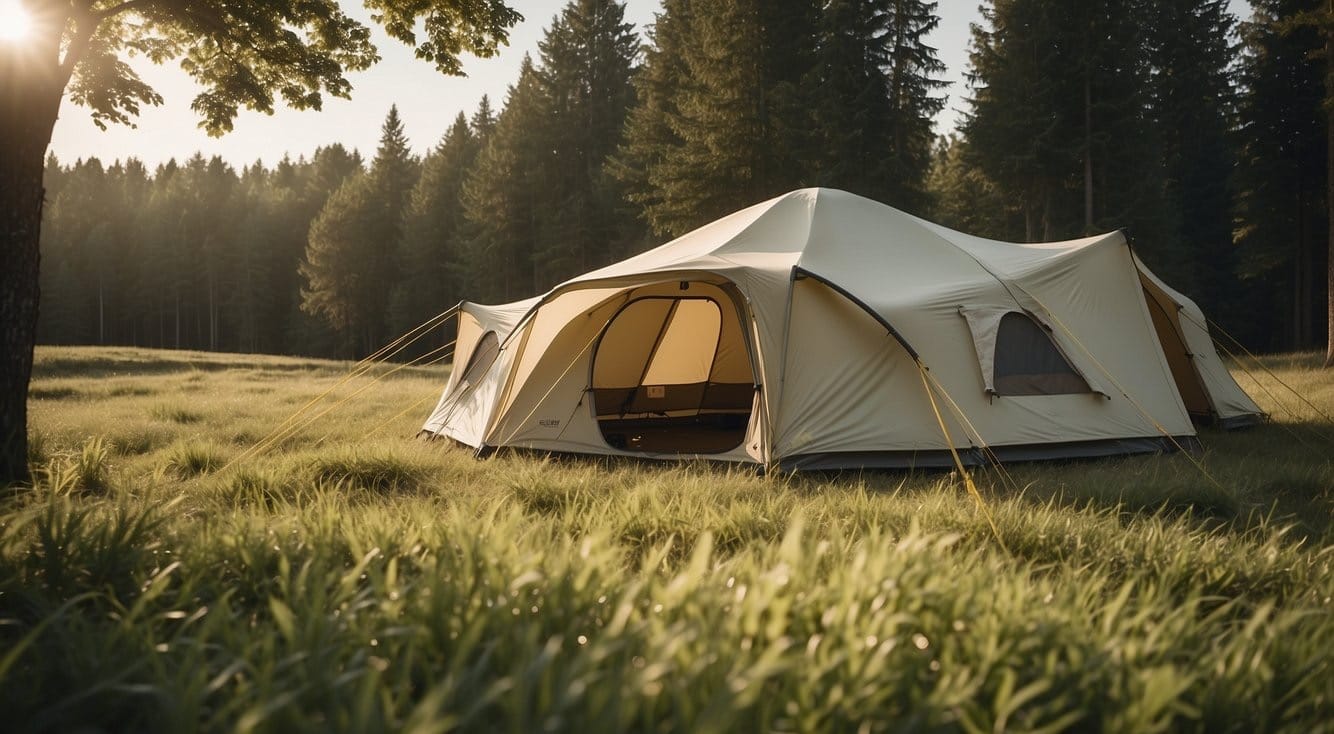
Once you've chosen a suitable campsite, pitching your tent is the next critical step.
Proper setup is essential for stability and weather resistance, ensuring a comfortable and secure shelter.
Laying the Groundsheet
Begin by unfolding your groundsheet or tarp to protect the bottom of your tent.
Make sure it is slightly smaller than the tent's footprint to prevent water from pooling. Lay it down flat, smoothing out any wrinkles.
Assembling the Poles
Next, assemble your tent poles by snapping the sections together.
If your tent uses sleeves, slide the poles through them; if it has clips, you'll attach them in the next step.
A good fit means the poles should have a bit of tension but shouldn't be forced into the sleeves or hooks.
Raising the Tent
Now, raise the tent by bending the poles into their proper arches and inserting the ends into the designated corners or grommets of the tent.
Utilize clips or velcro wraps to secure the tent fabric to the poles, ensuring the structure is taught.
Securing the Tent
Finally, anchor your tent using stakes or pegs by hammering them through the ground loops at a 45-degree angle away from the tent. This provides optimal stability.
- Use a mallet to gently drive the stakes into the ground to prevent bending.
- Attach guy lines to the guy points and pull them out at an angle, using guyline guidance knots for adjustability.
- If your tent has a fly, drape it over the top, aligning the doors and securing with buckles or hooks at each corner.
Optimizing Tent Stability and Comfort
When pitching your tent, stability in various weather conditions and overall comfort are paramount.
Proper positioning and the use of guy lines contribute significantly to these aspects.
Positioning for Weather Protection
To maximize weather protection, choose a flat location with natural windbreaks like rock formations or dense thickets.
When positioning your tent, ensure the door faces away from prevailing winds to reduce wind force against the tent's entrance. This practice also minimizes the risk of rain entering your tent.
- Avoid branches and sticks: These can fall and damage the tent fabric.
- Utilize natural barriers: Rocks and dense vegetation can shield your tent from wind.
Using Guy Lines Properly
Guy lines enhance your tent's stability, especially in windy conditions.
Ensure guy lines are pulled taut and are angled at approximately 45 degrees from the tent to create adequate tension.
Position the stakes away from the tent, securing the guy lines firmly into the ground using a rounded rock or a tool if needed.
- Use rocks for extra security: In sandy or snowy conditions when stakes won't hold, bury rocks at the end of the guy lines.
- Proper tension is key: Adjust guy lines to avoid fabric sagging or flapping, which can compromise the tent's integrity and comfort.
Caring for the Tent and Campsite
When you're camping, your tent is your home and the campsite is your temporary piece of the environment. Treat both with respect to ensure safety, comfort, and the preservation of nature.
Use Leave No Trace principles to minimize your impact on the environment and maintain a pristine setting for future campers.
Campsite Maintenance:
- Choose an established campsite to reduce environmental damage.
- Keep your campsite small to avoid disturbing the local vegetation.
Tent Care:
- Regularly check the seams and fabric for signs of wear or damage.
- Utilize a repair kit for quick fixes to tears or holes to maintain your tent’s integrity.
Environmental Considerations:
- Stake down your tent securely to withstand weather conditions and protect the surrounding area.
- When you break camp, restore the site to its natural state as much as possible.
| Ensure Comfort & Safety | Leave No Trace |
|---|---|
| Ventilation for airflow | Pack out all trash |
| Position away from hazards | Camp 200 feet away from water sources |
| Ensure the base is flat & clear of debris | Respect wildlife and plants |
Remember to keep your tent well-ventilated to avoid condensation build-up and ensure a comfortable and safe sleeping area.
Properly staking down your tent also adds stability and safety, reducing the likelihood of it collapsing or being damaged in adverse weather conditions.
Dealing with Adverse Weather Conditions

In the face of adverse weather conditions, pitching your tent properly is critical for ensuring a safe and dry camping experience. Your approach should be systematic and attentive to environmental cues.
Before Pitching:
- Consider the direction of the wind and position your tent so that the strongest winds hit the lowest and narrowest part of the tent.
- Choose a site with natural windbreaks if possible, such as trees or boulders, but avoid areas prone to flooding.
Tent Pitching Process:
- Secure the Corners: Start by staking down the corners of your tent. Insert stakes at a 45-degree angle, facing away from the tent, to maximize hold.
- Add Guy Lines: Utilize all the guy line points on your tent, especially if it’s windy. Guy lines add stability and should be anchored with stakes or tied to stable objects.
- Use a Rainfly: The rainfly or fly acts as the first barrier against water. Ensure it's taut to prevent water from pooling.
- Seal Seams: Check for any gaps in the seams which can let water in and seal them if necessary.
After Pitching:
- Check Grommets: Ensure that poles are fixed securely in the grommets to avoid tent cave-ins.
- Adjust the Fly: Leave a gap for ventilation to manage condensation.
- Utilize Vestibules: If your tent has vestibules, use them to shield the entrance from rain and additional wind.
Packing Up and Leaving No Trace
When you're ready to pack up your tent, it's crucial to minimize your impact on the environment. Leave No Trace principles guide you in preserving the campsite for wildlife and future campers.
- Dismantle Tent Properly: Carefully remove the tent stakes, one by one, and if they are difficult to extract, avoid pulling them in a way that will disturb a larger area of soil than necessary.
- Clean the Tent Floor: Before folding, ensure the tent floor and groundsheet are free of debris. This keeps your equipment in good condition and prevents the spread of non-native species.
- Inspect the Campsite: Look around your campsite for any trash or leftovers and pack everything out. Be thorough; even small pieces of garbage can affect the environment and wildlife.
- Naturalize the Area: If you’ve moved any rocks or natural objects, return them to their place. Your goal is for someone to arrive later and not even notice that you’ve camped there.
- Dispose of Waste: Any solid human waste should have been buried in catholes, well away from water sources, trails, and the camp. Now, ensure that all toilet paper and hygiene products are packed out, as these do not decompose rapidly and can be harmful to animals.
Frequently Asked Questions
What is the proper technique for setting up a tent as a beginner?
For beginners, choose a flat, dry area and lay the ground cover. Then, lay out the tent and stake the corners. Assemble and insert the poles, raising the structure, and if required, add the rainfly.
Can you explain the steps to pitch a tent if you're doing it alone?
When pitching a tent alone, start by laying out all components within reach. Secure one corner, then assemble the poles, working from one side to another, utilizing your weight to stabilize the tent as you go.
What are the best strategies for pitching a tent on uneven or sloped terrain?
On uneven terrain, find the most level area possible. Clear debris and position the tent so your head will be uphill. Use rocks or gear to anchor it if the soil is loose and stake down tightly.
What are the essential tools required for setting up a tent effectively?
Essential tools include the tent itself, a mallet for driving stakes, and extra guylines for stability. Ensure you have the correct poles and stakes for your tent model and ground conditions.
What orientation should be considered when positioning a tent outdoors?
Position your tent so the door faces away from prevailing winds. On slopes, the door should face downhill, and in the sun, consider shade for morning comfort. Utility aspects, like proximity to a fire pit, may guide positioning.
How can the difficulty level of tent pitching be assessed for first-time campers?
First-time campers should assess difficulty by tent size and design. Tents with fewer poles and simple structures are easier to set up. Practice beforehand and read the manual to ease your initial setup experience.